In 2013 I was making small wooden pen boxes for fountain pen enthusiasts. I was asked if I could make a large case.
The first step in this project was to decide on the size of the box. To do this I started with the size of each pen or group of pens in each tray. With a little bit of trial and error I was able to work out the sixe of the trays and from there the required box size to put them in.
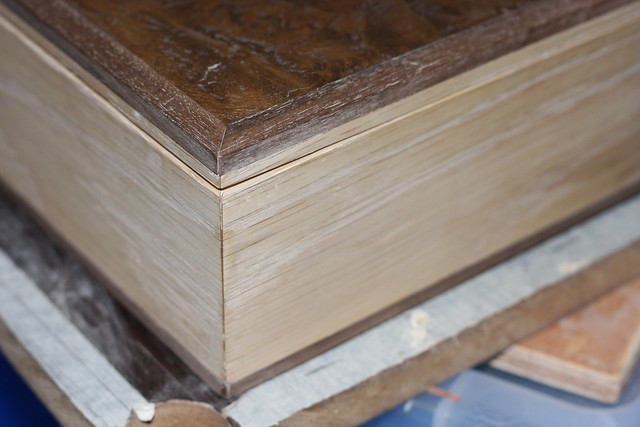
I mapped out the box size on a piece of plywood and chose 25 mm oak which my timber supplier helped me with the outside sizes and I cut the mitres.
I added a strip of walnut around the top which will form the lid I added another piece on the bottom which I you may have guessed will form the base.
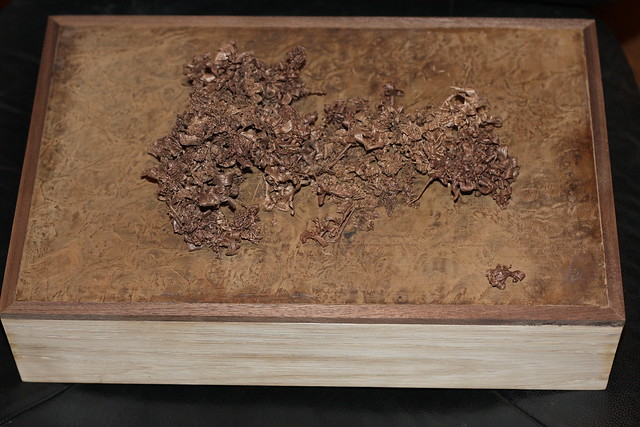
The top is plywood edged in the walnut with a walnut burl insert.
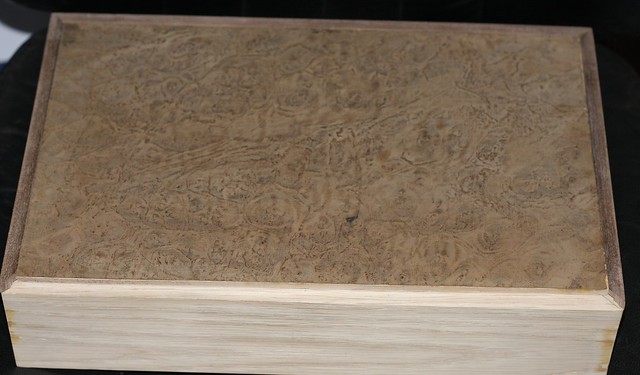
I then planned the edges of the walnut down level with the veneered top.
Once I had added the top and bottom pieces I had to cut the box into two parts after all of this work this required a very deep breath.
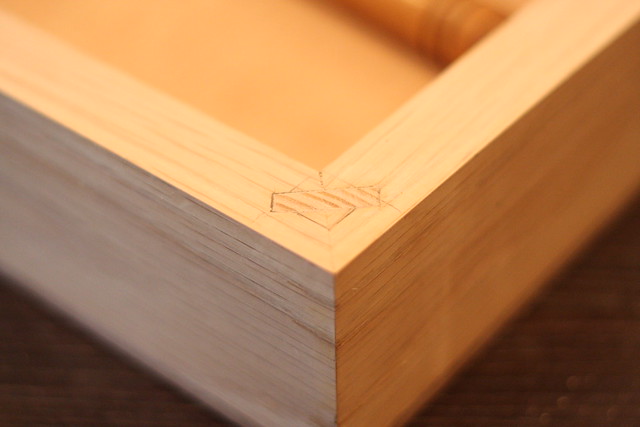
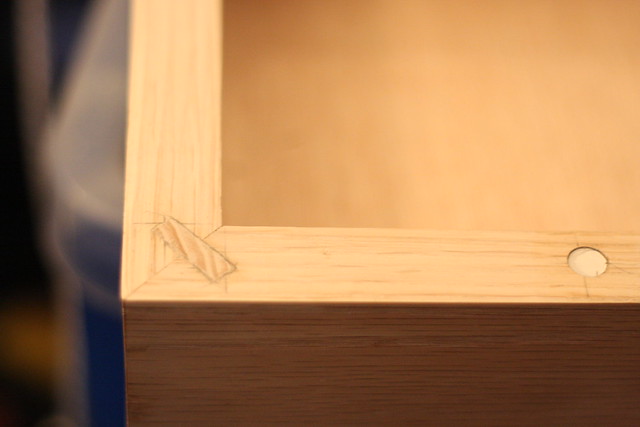
In order to add extra strength I cut some holes and inserted some key pieces which I glued in place.
After adding the keys I also added some magnets to act as closure mechanisms
Now adding these keys and magnets made the inside edges of the box look untidy my solution was to apply an oak veneer to these edges.
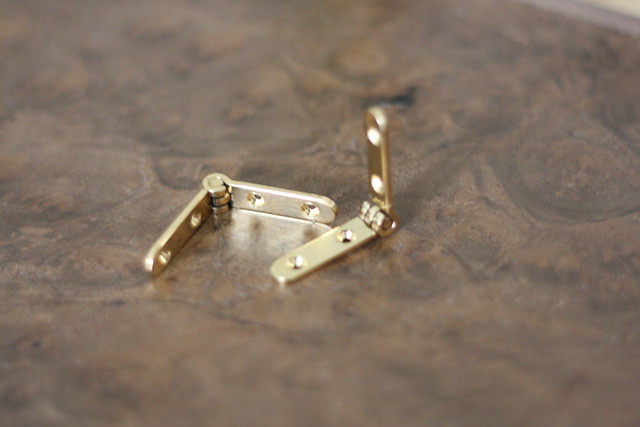
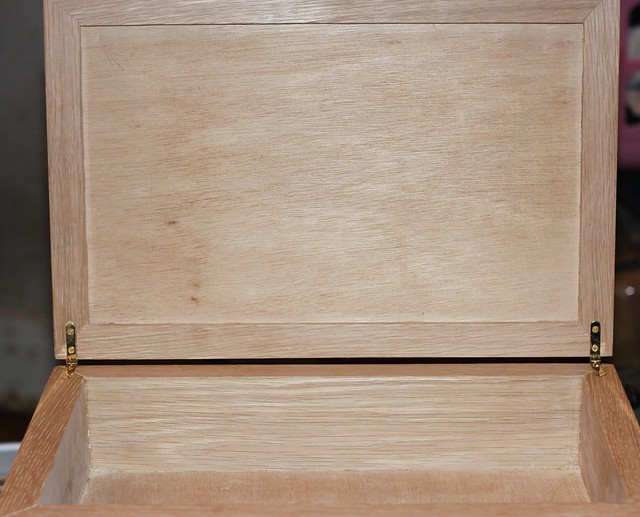
After some searching I found these gold plated hinges with a built in stop to prevent the lid opening too far.
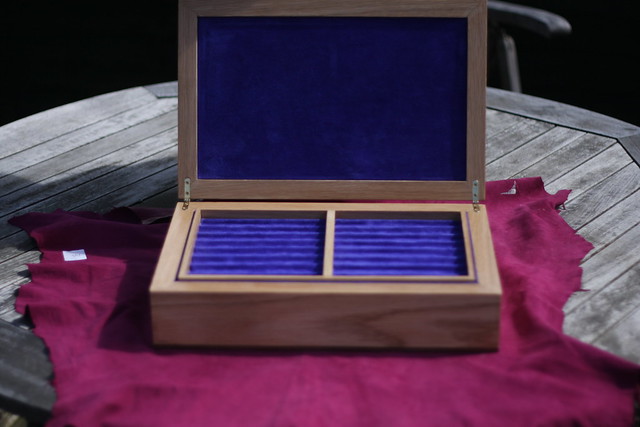
Bringing all of the components together and we have a box with a hinged lid.
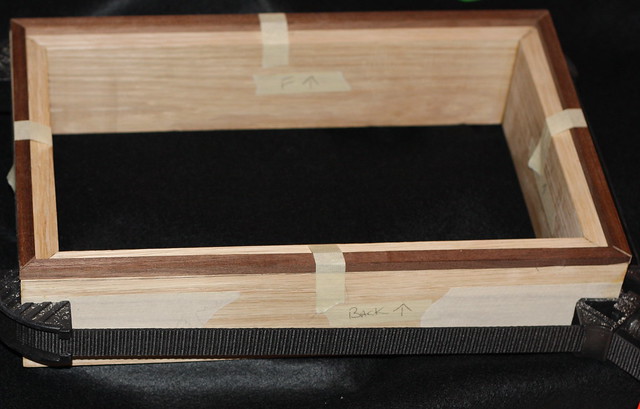
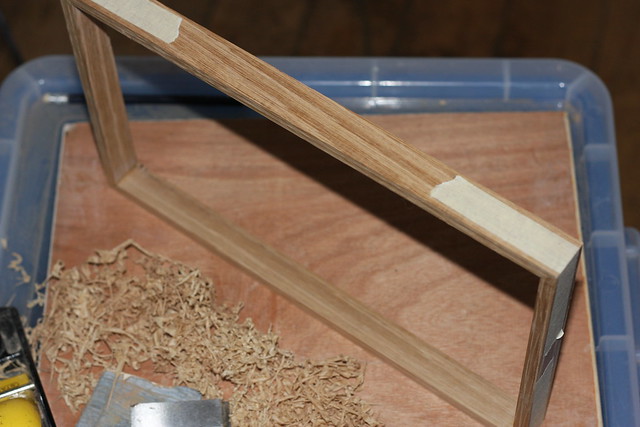
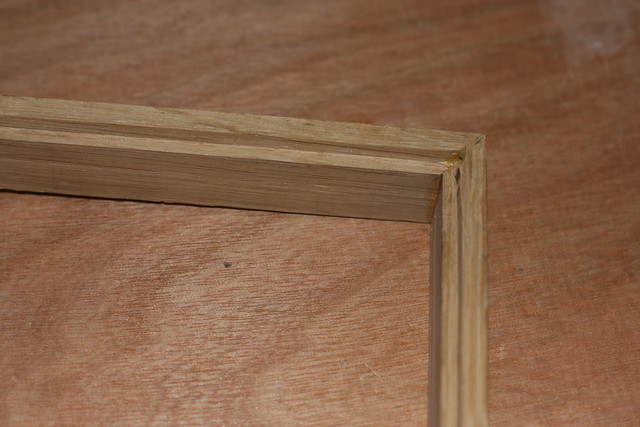
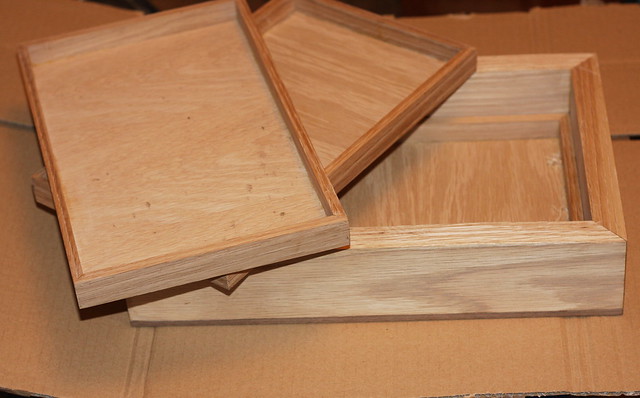
Now the box is complete I started to focus on the inner trays these are made by cutting the four sides and mitring the ends. I laid them out end to end and applied masking tape over the joins I then applied glue to the mitres before folding them up and securing the final end with more tape.
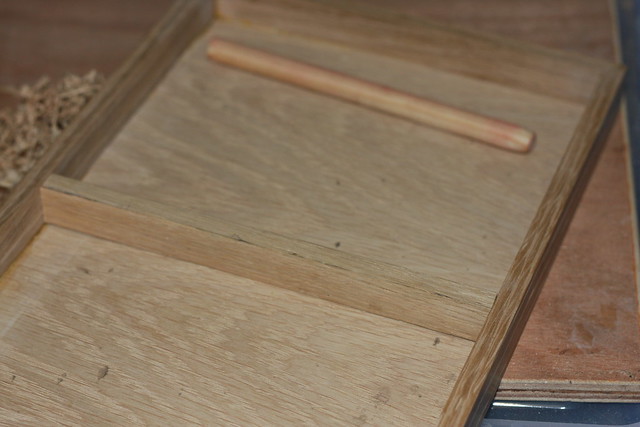
Once the glue had dried I used a mini router to make a grove in the bottom of each of the three trays to allow a piece of oak veneered plywood to be added as a base.
The two trays for smaller pens had a centre divider the third tray for the larger pens did not have a divider.
I now had a base and three trays
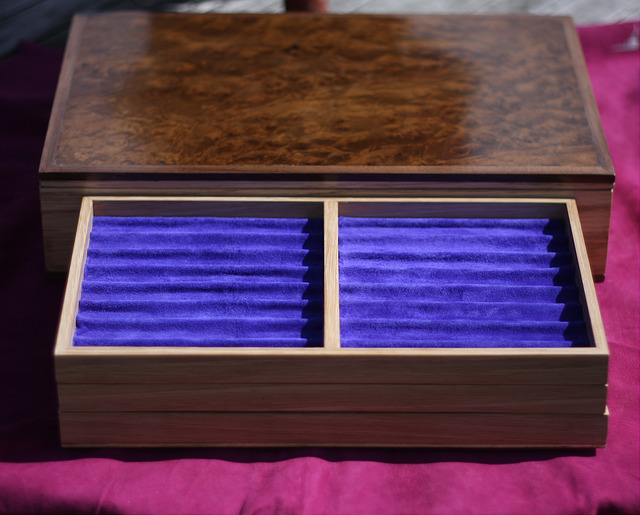
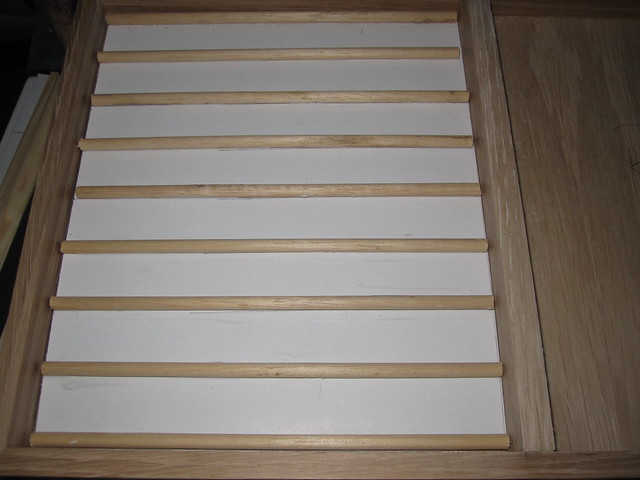
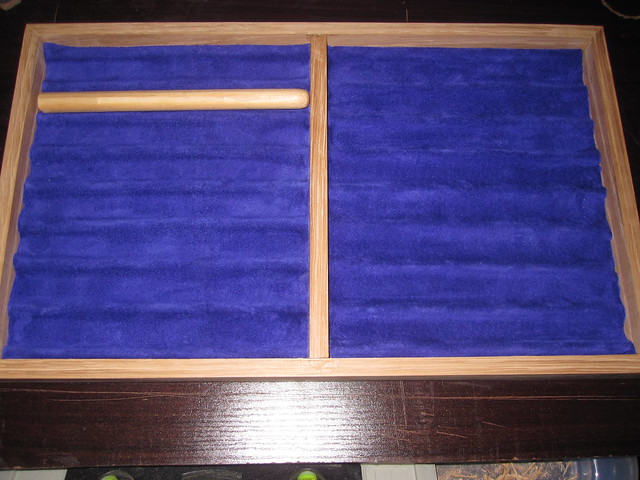
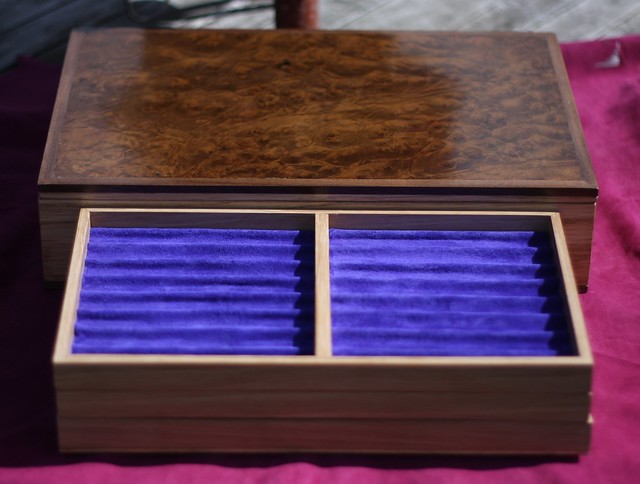
Each tray now needed inserts which I made by gluing pieces of dowel to card and covering in suede.
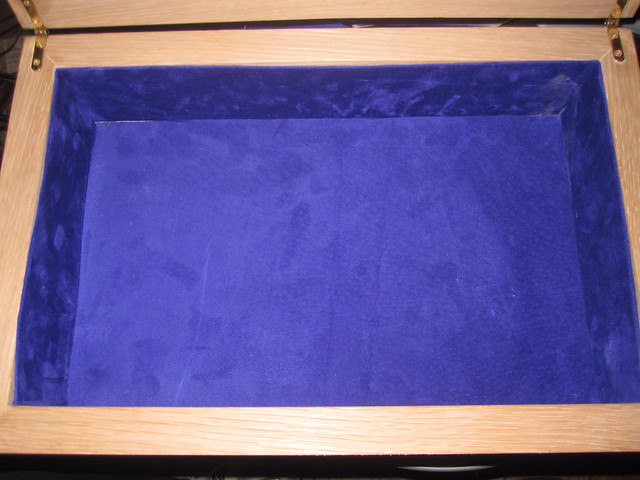
I also applied suede to the inside of the box

Here are the three trays with the finished waxed box.
Finished and ready for delivery.
Thanks for looking
Michael
