In 2014 I was asked to create a case to carry a number of dip pens with offset nibs. These pens require a large case as they can be around 8 inches long and the offset nibs can be quite wide.
This was my first model although it was very small compared to that which was required.
We decided that the diameter of the body needed to be 4 inches near enough 100mm my initial thought was to use a Kydex liner with a thin leather shell and suede liner.

The Kydex I had would not hold this form even after heating it was too flexible thicker kydex may have worked better but I decided to use heavier leather to form the body.
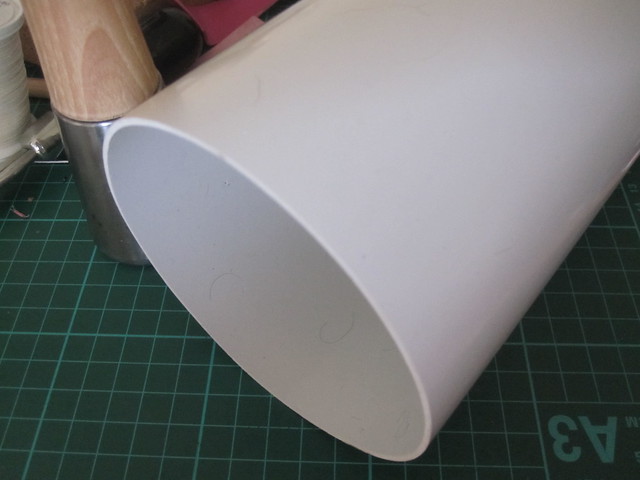
I purchased a piece of pvc vent pipe to form the tube
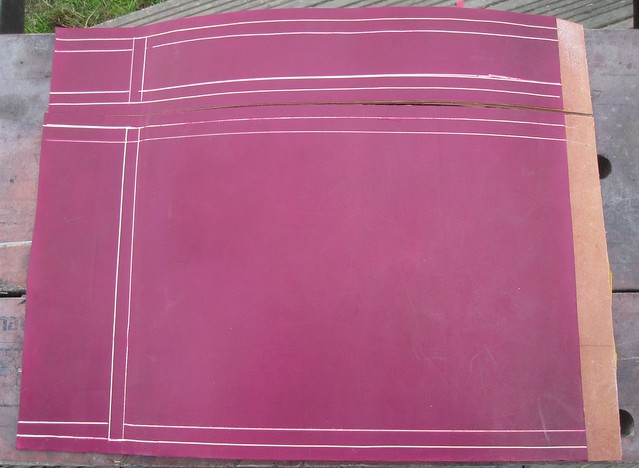
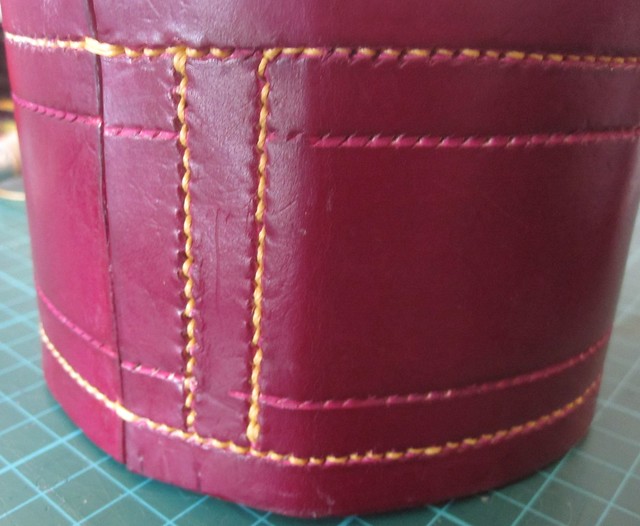
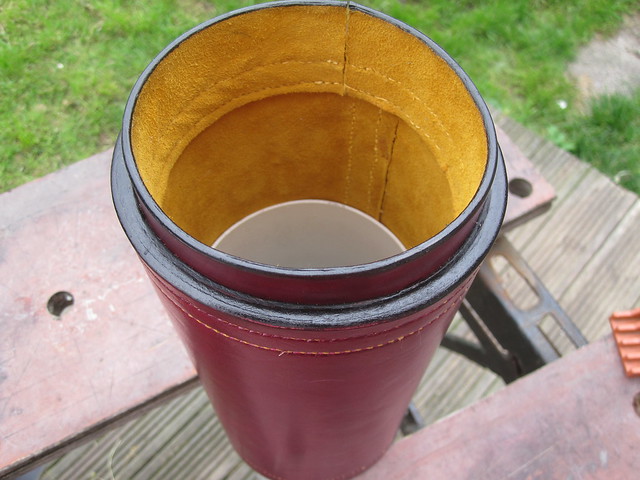
Once everything was ready I made a lamination of the inner suede the thicker leather finally a nice thin leather for the finished outer layer. the outer layer was dyed oxblood a dark read. As you can see on the right edge I left an overlap to cover the joint.
The next step was to mark out all of the stitching and make groves along these lines.
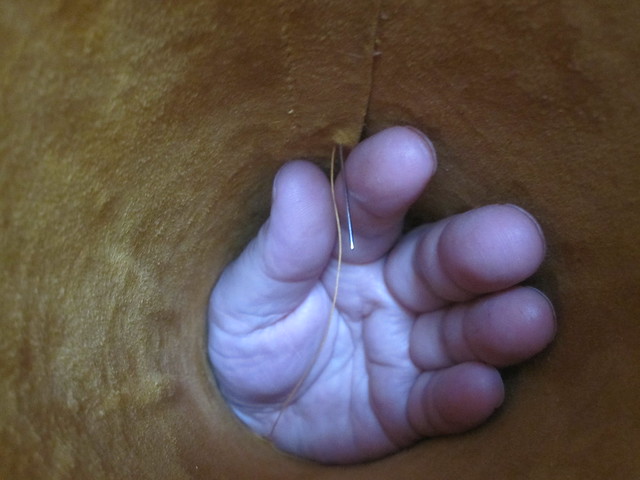
Stitching in progress although the inside diameter was 4 inches my hand only just fit inside.
Stitching the lid
You may have noticed in the last couple of pictures the area stitched has a flat area. I am not sure how this happened but I had to find a way to fix it.
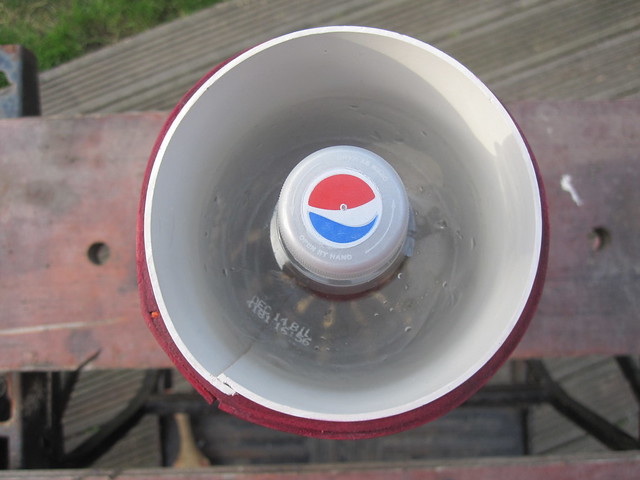
Once sewn together the case was slightly smaller than the 4 inches by about 1/8 in the pvc pipe would no longer fit inside so I cut it along its length. I then needed to push the pipe outwards from the inside. I found that a 2 litre pepsi bottle fit inside when empty and with out its lid. I soaked the tube in cold water and adding some fizzy drink replacing the top and shaking the whole assembly released the gas from the drink and forced the sides of the bottle outwards which in turn pushed the pvc pipe against the leather tube returning it to the round state I continued to shake the bottle as everything dried out.
You may have also noticed that the top piece is quite deep this is to allow storage of spare nibs and small ink bottles.
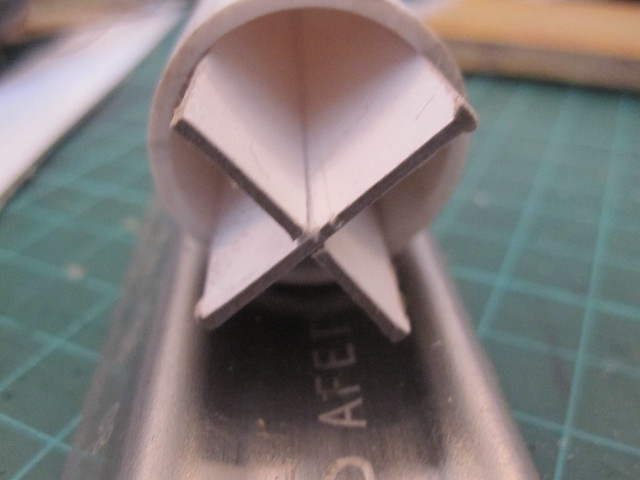
I then needed two end pieces one for the top and one for the bottom.
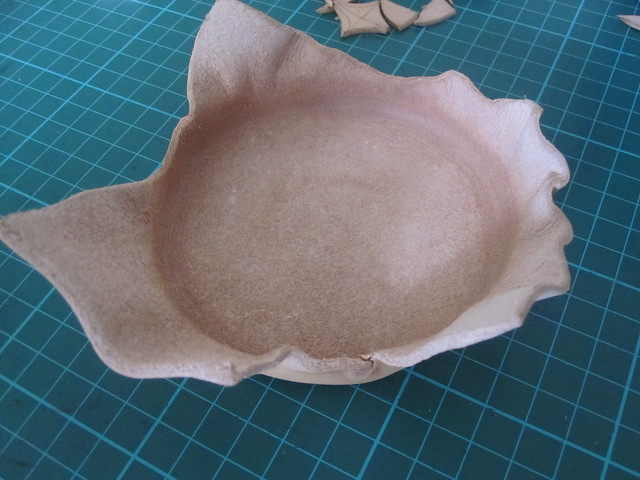
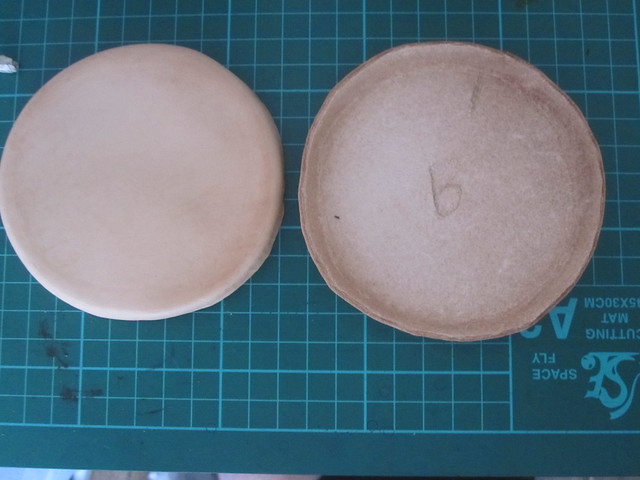
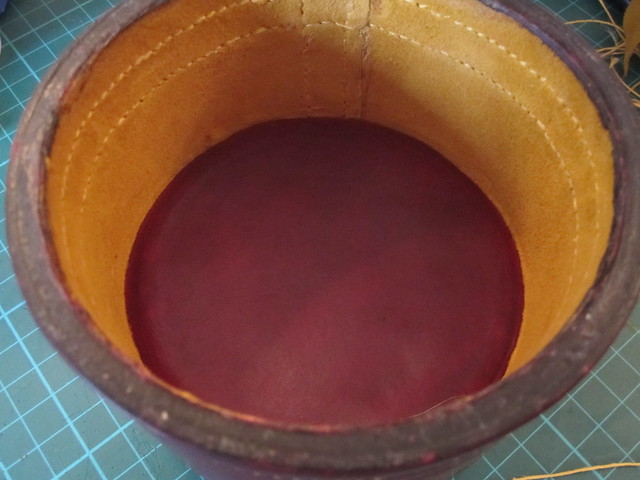
The bottom of the top
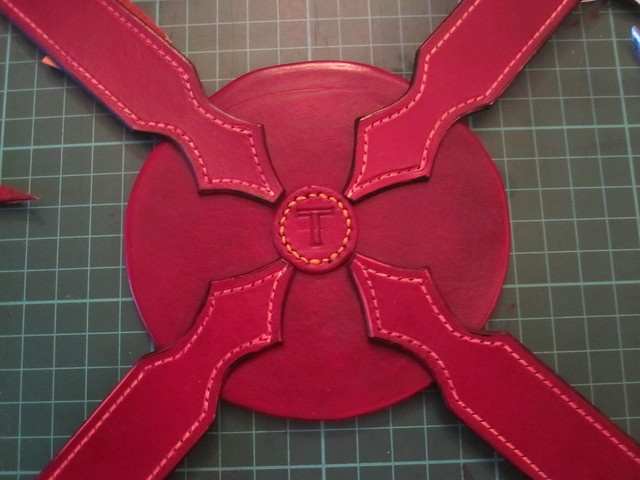
The lid was a little more complicated as I wanted it to perform two functions the first being to be a lid the second to secure the top section to the main body.
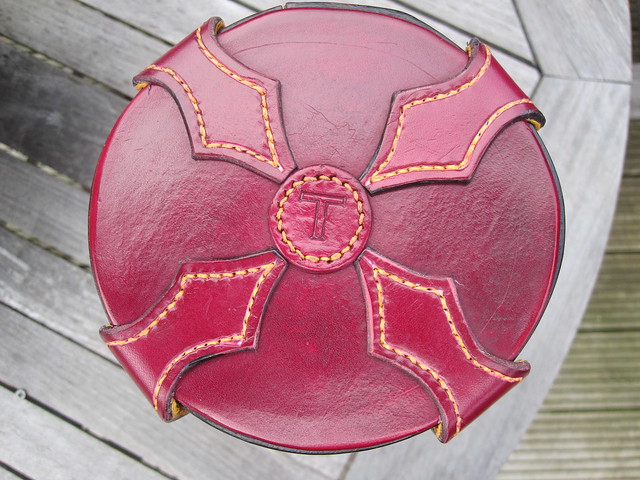
This is the detail of the straps where they meet on the top of the lid. I had decided to use Sam Browne studs to secure everything in place. As the thickness was 8 mm at this point only the very large Sam Browne studs were long enough to go through the sides I decided to make mounting rings for the smaller studs.

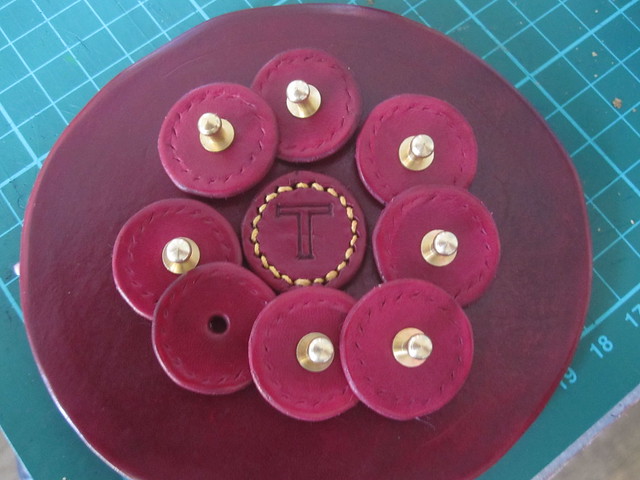
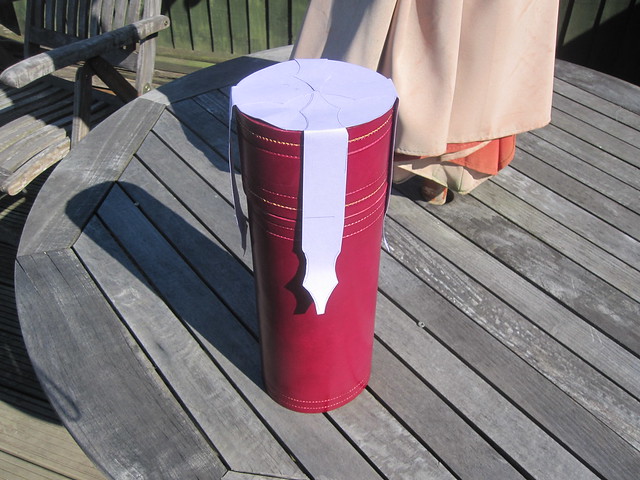
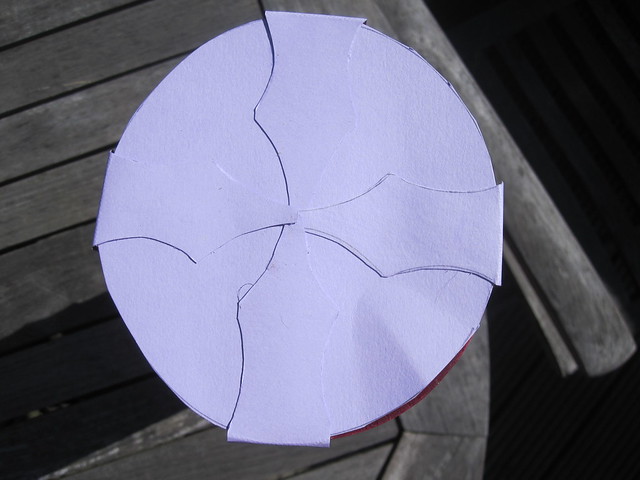
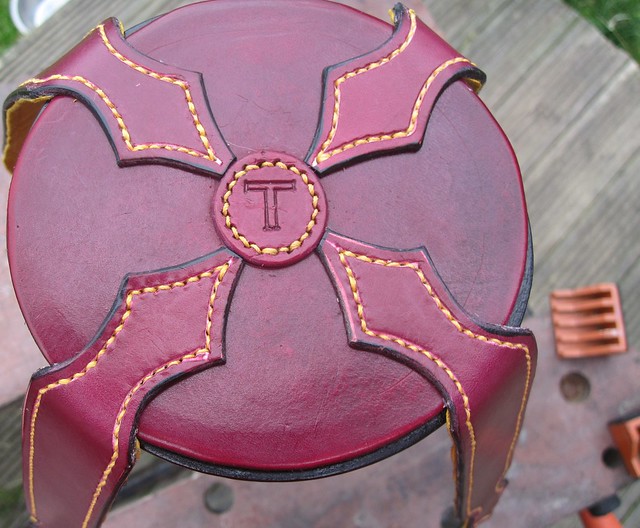
As you can see I also made a “T” for the centre of the lid, As the case was designed to hold dip pens the a nib shaped end was cut onto each strap.
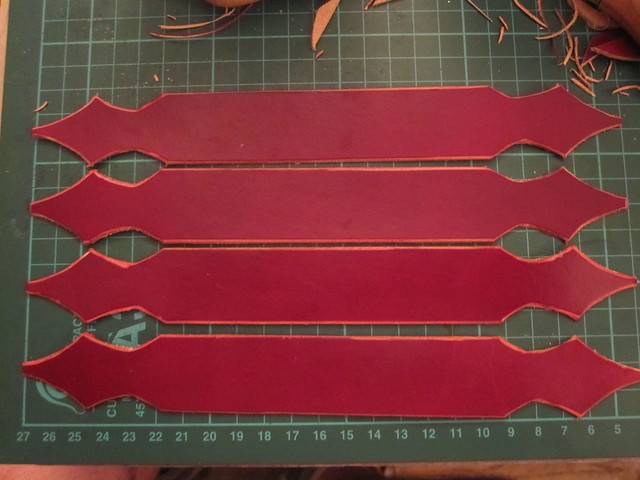
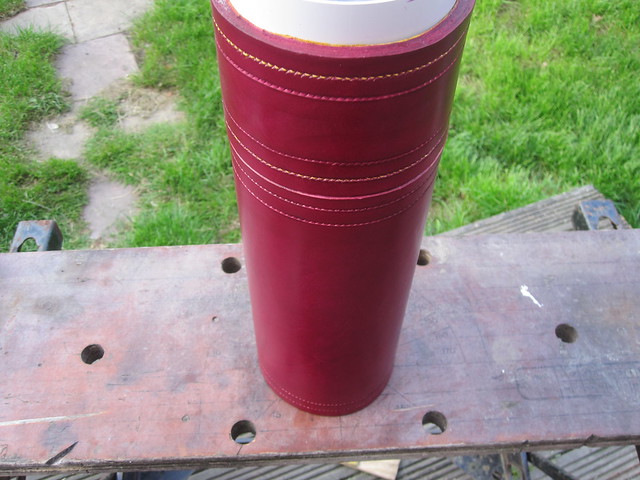
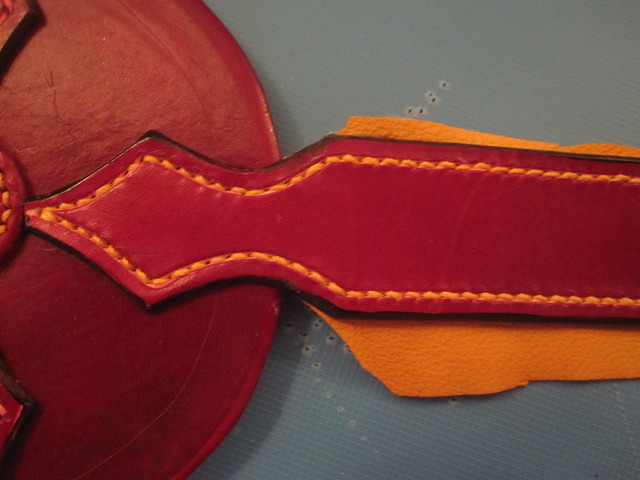
The straps looked a little ordinary so I added some stitching detail.
After sewing the straps to the lid I decided to line the inside of the straps with suede.
The next step was to establish the position of the mounting points for the studs.
I added an inner support ring to help the lid stay in place.
The finished lid
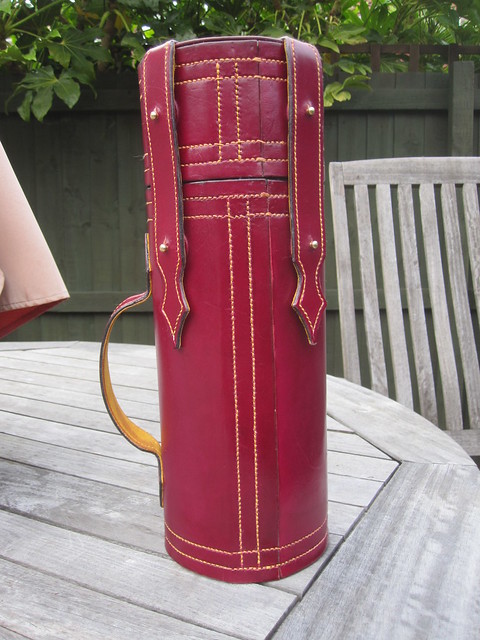
Earlier in the process I had made a round handle.
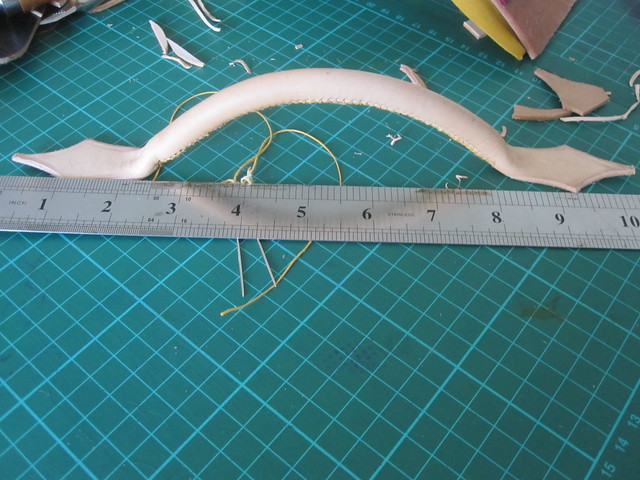
I replaced the round handle with a flat handle in the same style as the straps
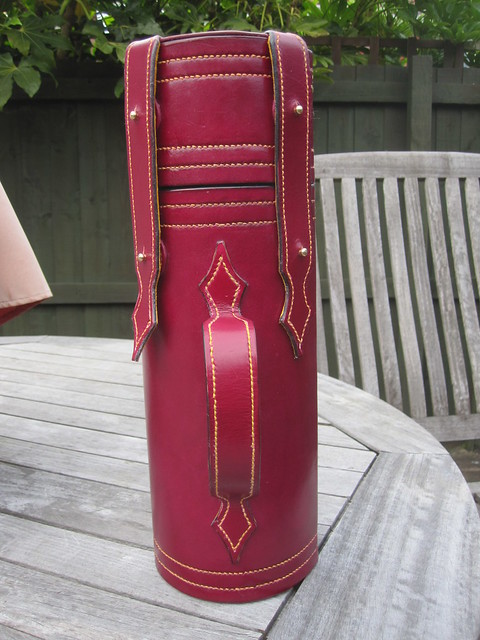
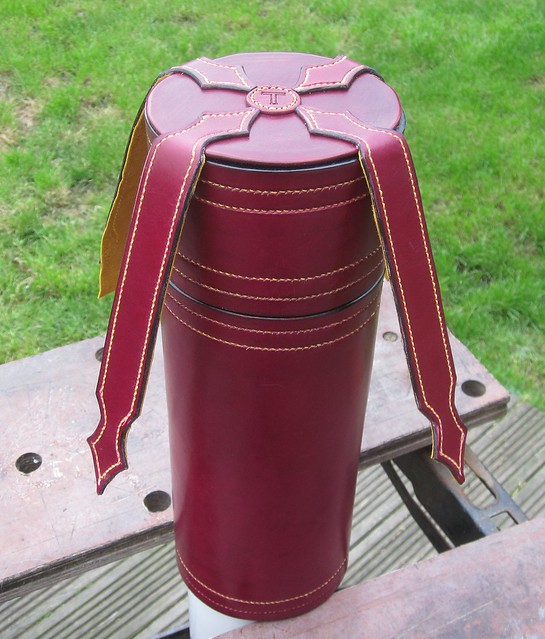
These are the pictures of the finished case
Thanks for reading
Michael

That is exquisite. Bravo. Fantastic work. You’ve surpassed yourself once again.
LikeLike
Thanks Laura
This was one of my first large commisions from 2014 I thought it might be worth posting here.
Michael
LikeLike